|
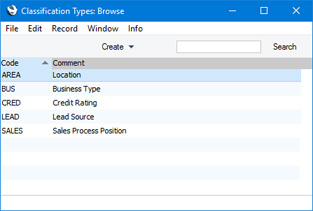
Search HansaManuals.com HansaManuals Home >> Standard ERP >> Customers, Suppliers and Contact Persons >> Settings Previous Next Entire Chapter in Printable Form Search This text refers to program version 8.4 Classification Types This page describes the Classification Types setting in the Sales Ledger and the CRM module.--- Classification Types allow you to divide Contact Classifications and Item Classifications into groups. To open the Classification Types setting, first ensure you are in the Sales Ledger or in the CRM module. Then, if you are using Windows or Mac OS X, click the [Settings] button in the Navigation Centre or use the Ctrl-S/⌘-S keyboard shortcuts and then double-click 'Classification Types' in the resulting list. If you are using iOS or Android, select 'Settings' from the Tools menu (with 'wrench' icon) and tap 'Classification Types' in the 'Settings' list.
You can make sure that all Contacts are given a Classification belonging to a particular Classification Type. For details, please refer to the description of the header of the Customer Category window. --- Settings related to Contacts:
|