Entering a Work Sheet
Work Sheets can be entered in three ways:
- From the 'Work Sheets: Browse' window, click the [New] button in the Button Bar to open a new Work Sheet transaction.
- Open the Work Order against which work has been carried out. Select 'Create Work Sheet' from the Operations menu. A new Work Sheet is created. The advantage of using this method is that it ensures each Work Sheet is linked to the correct Work Order.
- Open the Service Order against which work has been carried out. Select 'Create Work Sheet' from the Operations menu. A new Work Sheet is created.
Note that a Work Sheet created from a Work Order or a Service Order will be presented in a 'Work Sheet: Inspect' window. This means that the record will already have been created and saved into the register. To delete it you must choose 'Delete' on the Record menu.
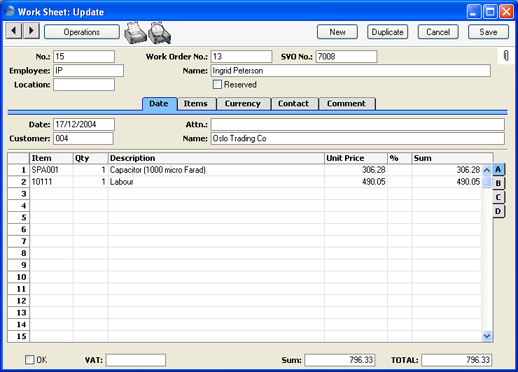
Since the amount of information stored about each Work Sheet will not fit on a single screen, the Work Sheet window has been divided into five cards. At the top of each is the header. This contains the Work Sheet Number, the Work Order Number, the Location, the Employee's Initials and Name and one check box. There are five named buttons ('tabs') in the header.

By clicking the tabs you can navigate between cards. The header is always visible, as a reminder of the Work Sheet you are working with.