The Mailing List Register
The Mailing List register will be useful if you need to send Customer Letters to the same selection of Customers, Suppliers and/or Contact Persons more than once. After constructing a list of recipients in a Mailing List record, you can then refer to that Mailing List in Customer Letters as necessary. The Customer Letter will be sent to each recipient listed in the Mailing List. You can use Mailing Lists in Customer Letters that you will print and in Customer Letters that you will send by email.
To construct a Mailing List, follow these steps:
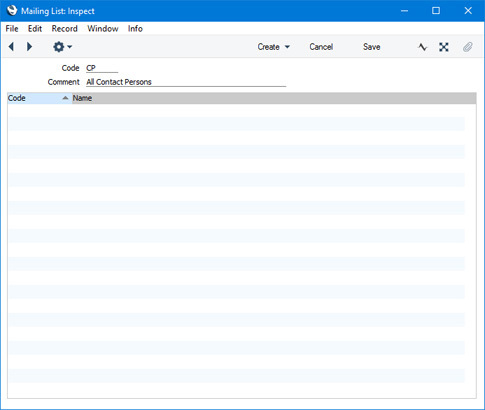
- After ensuring you are in the CRM module, open the Mailing List register and create a new record. Add a Code and a Comment and then save the record.
- The first method you can use to add recipients to a Mailing List is drag and drop. This method is not available if you are using iOS or Android:
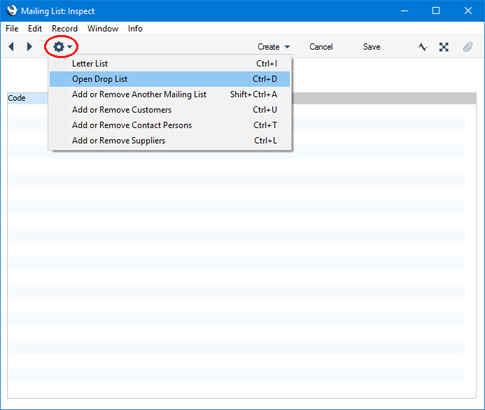
- Choose 'Open Drop List' from the Operations menu (with 'cog' icon) in the Mailing List window:
A drop list window will open:
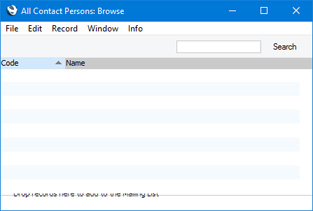
- Open the 'Contacts: Browse' window.
- Drag Contacts from the 'Contacts: Browse' window to the drop list window:
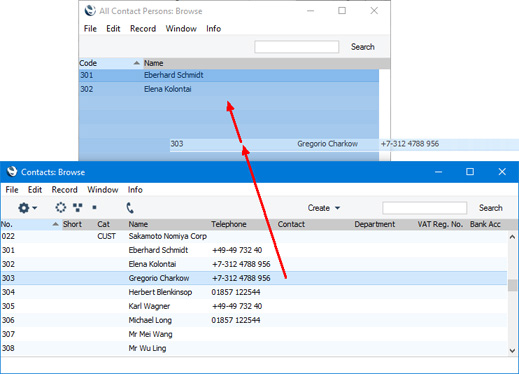
The Contact will be added to the drop list and to the Mailing List simultaneously. You can shift-click if you want to add a range of Contacts to the Mailing List and, if you are using Mac OS X, you can also ⌘-click if you want to add a number of Contacts that aren't in a range.
- You can add Customers to the Mailing List by searching for them:
- Choose 'Add or Remove Customers' from the Operations menu. The 'Specify Add or Remove Customers to Mailing List' window will open:
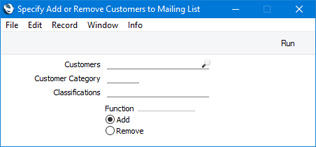
- Customers
- Paste Special
Customers in the Contact register
- Range Reporting Alpha
- Use 'Paste Special' to choose the Customers that are to be added to the Mailing List. If you enter a range of Customer Numbers, every Customer in that range will be added to the Mailing List.
- Customer Category
- Paste Special
Customer Categories setting, Sales Ledger
- If you need to add every Customer belonging to a particular Category to the Mailing List, specify that Category here.
- Classifications
- Paste Special
Contact Classifications setting, CRM module
- If you need to add Customers with a particular Classification to the Mailing List, specify that Classification here. You can also specify a number of Classifications separated by commas, in which case Customers with all those Classifications will be added to the Mailing List.
- Function
- Use these options to specify whether Customers matching the criteria specified above are to be added to or removed from the Mailing List.
- Press the [Run] button to add the Customers to the Mailing List.
If a Customer is already in the Mailing List (both Customer Number and Name), it will not be added again. If a Customer is already in the Mailing List but with a different name, it will be added for a second time.
If you use the drag-and-drop method to add a Customer to the Mailing List, the Customer Name will be added to the Mailing List. Usually this will be the company name of the Customer. If you use the Customer search method, the Customer's Primary Contact will be added to the Mailing List. If the Customer does not have a Primary Contact, the Customer Name will be added.
- If you need to add Suppliers to the Mailing List by searching for them, select 'Add or Remove Suppliers' from the Operations menu. Proceed as described in step 3.
- If you need to add Contact Persons to the Mailing List by searching for them, select 'Add or Remove Contact Persons' from the Operations menu. Proceed as described in step 3. The 'Paste Special' list from the Contacts field will include every record in the Contact register, but any Customers and Suppliers that you select will not be added to the Mailing List.
- To add the contents of another Mailing List, select 'Add or Remove Another Mailing List' from the Operations menu.
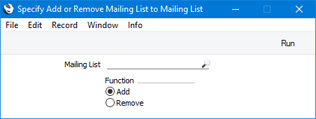
Choose the other Mailing List using 'Paste Special' and press the [Run] button.
- If you would like to change any of the names, double-click or tap on a line in the Mailing List.
- When adding a Customer Letter, specify the Mailing List using the field in the header:
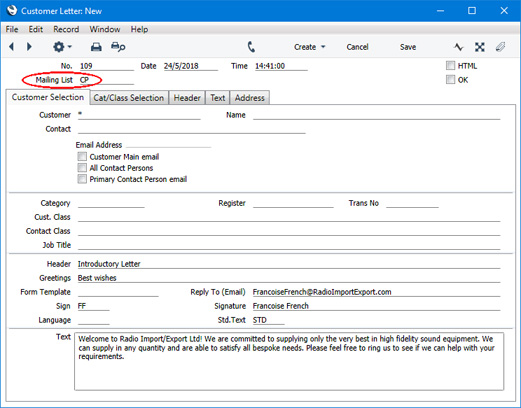
When you print or email the Customer Letter, letters will be printed or emailed to each recipient in the Mailing List. Any criteria that you specify on the 'Customer Selection' and 'Cat/Class Selection' cards of the Customer Letter will be ignored. A letter will be printed or emailed to a Contact, even if the No Mass Letters and/or No Mass Emailing boxes have been ticked for that Contact. If you wish to exclude that Contact from the mailing, do not include them in the Mailing List.
---
Go back to: