Credit Notes
If you want to credit an Invoice that you have issued, you should do as follows:
- Click the [Invoices] button in the Master Control panel. The 'Invoices: Browse' window is opened, showing all registered Invoices.
- Click [New] or enter the appropriate keyboard command. Alternatively, find the Invoice to be credited in the list, highlight it and click [Duplicate].
Note: if the Invoice to be credited is an Interest Invoice, you must click [New]. You cannot duplicate Interest Invoices in order to credit them.
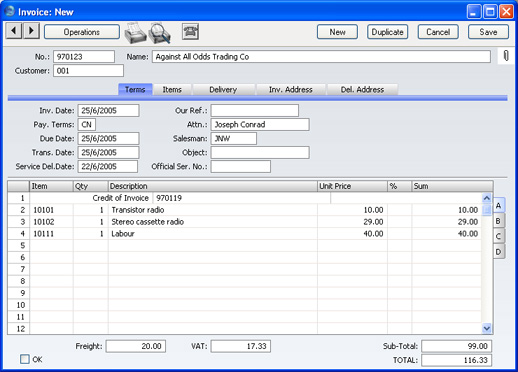
- The 'Invoice: New' window is opened as described here. Enter the Invoice in the normal way, but change the Payment Terms to "CN" (Credit). In the first row of the specification area, a crediting message is entered. Enter the number of the Invoice to be credited, using 'Paste Special' if necessary to bring up a list of open (unpaid) Invoices.
Note: this assumes a Payment Term record with a Code of "CN" and of type "Credit Note" has been entered using the Payment Terms setting.
- On the remaining lines you can enter the items to credit, and by what amount.
- Click the OK check box when you are sure the Credit Note is correct. As with ordinary Invoices, you must approve Credit Notes using the OK check box to be entered into the Sales Ledger and, if so defined in the Sub Systems setting in the Nominal Ledger, for Nominal Ledger Transactions to be created.
You can use Access Groups to control who can approve Credit Notes: they need not be the same members of staff as those who can approve Invoices. To do this, deny access to the 'OKing Credit Notes' Action.