Client

Having configured the master, you can then configure Hansa Business Phone on each client computer. The master should be running while you are doing this. - After clicking the [Client] button in the window shown above, the 'Server Address: Inspect' window will appear, listing the available Bonjour servers in the same subnet as your client computer:
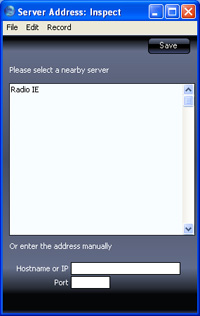
Click on the server in the list that you want to log in to, and then click the [Save] button.If the Bonjour server is not in the same subnet as your client machine, enter its IP address in the Hardware or IP field, and specify 1200 in the Port field. In both cases, the server details will be saved in the Hansa BusinessPhone client application, and a message will inform you to this effect. - The 'Select Company' window will appear, containing your company name, as specified in step 2 on the Master page:
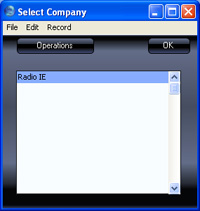
Double-click the company name, or highlight it and click [OK]. - The login window will appear:
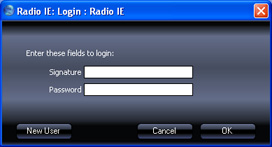
Click the [New User] button to create a user account for a person who will be using Hansa BusinessPhone. This person will not necessarily have to use Hansa BusinessPhone on the particular client computer that you are using to create their account. All user accounts are stored in the master database and any person will be able to log in and use Hansa BusinessPhone on any client computer containing the application. - A second login window will appear, wher you should enter the Master Password that you specified in step 1 on the Master page:
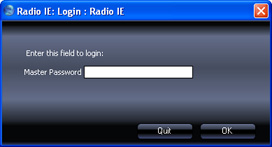
This will log you in to the server where the user account will be stored. Having entered the Master Password, click the [OK] button.. - The 'User Details: New' window will be opened. Here you can enter a person's details, to create a user account for that person. You must enter a Signature (initials) and Name before you can progress to the next step, but the other information is optional.
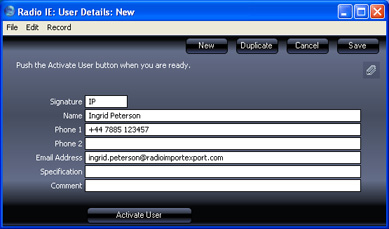
- Signature
- Enter the person's initials. They will use these initials and a Password to log in to Hansa BusinessPhone each time they start the application. You can enter up to ten characters.
- Name
- Enter the person's name.
- Phone 1
- Enter the person's mobile phone number including international prefix preceded by + not 00 (e.g. +44 for the UK, +372 for Estonia). This will be used as the originating phone number if they send SMS text messages from Hansa BusinessPhone (the SMS text message feature has not yet been implemented).
- Phone 2
- If necessary, enter a second mobile phone number, again including international prefix preceded by + not 00.
- Email Address
- Enter the person's email address. This will be used as the originating email address if they send emails from Hansa BusinessPhone.
- Specification, Comment
- Use these fields to record any comments about the person.
When you have completed the 'User Details: New' window, click the [Activate User] button at the bottom of the window. - The 'User Details: Inspect' window appears, confirming your details. If anything is wrong, correct it and click the [Save] button at the top of the window:
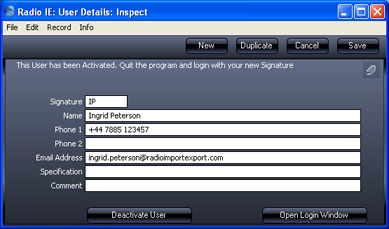
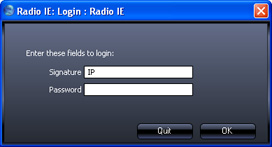
- Click the [Open Login Window] button and allow the person to enter their Signature when the login window appears:
- You will be asked if you want Hansa BusinessPhone to remember this person's Signature and Password, so that they do not have to enter them each time they log in.
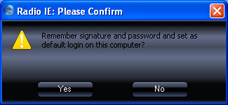
Bearing in mind that the Password is a security feature, it is recommended that you only click the [Yes] button if you are absolutely sure no-one other than yourself will have access to your computer. Whichever option you choose, you will be able to change it later if necessary. - The next step is to specify a Password. This is the Password the person will use each time they log in to a Hansa BusinessPhone client, not the Master Password specified in step 1 of the Master page.
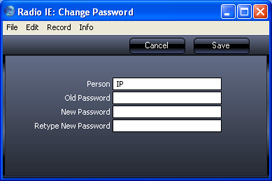
Choose a Password and enter it in the New Password and Retype New Password fields. Then, click the [Save] button at the top of the 'Change Password' window. Hansa BusinessPhone will quit: restart and login.The main 'Hansa BusinessPhone' window will appear: 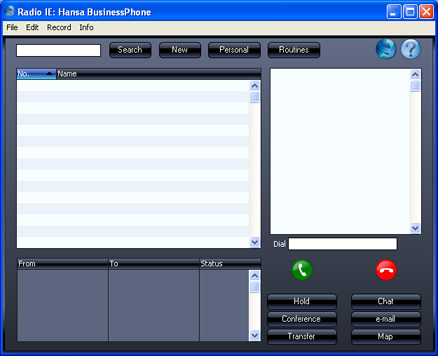
- Repeat the sequence for Hansa BusinessPhone on each client computer, creating user accounts for each person that will use Hansa BusinessPhone. In steps 7-9, you can log in as each person and specify a Password for them. They will be able to change it later. If you are installing Hansa BusinessPhone on a new client computer and do not need to create a new user account, log in as a user at step 3 to proceed to the main 'Hansa BusinessPhone' window.
|