Archives and Attachments
You can connect files or notes to any record. These connected objects are known as "Attachments", and they are stored in an "Archive". Every record has its own Archive, which you can open using the button with the paper clip icon in the top right-hand corner, just underneath
Options. This button can have two icons:

- This icon signifies that the Archive is empty.

- This icon signifies that the Archive contains at least one object.
To open a record's Archive, first
open the record, then highlight the [Archive] button using the scroll key. Then press the Enter key. Alternatively, select
Options > Record > Attachments. The contents of the Archive will be listed. This is a list of the objects that have been attached to the record:
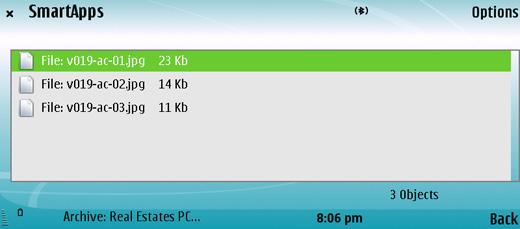
Use
Options > Operations to work with the Attachments in the Archive, as follows:
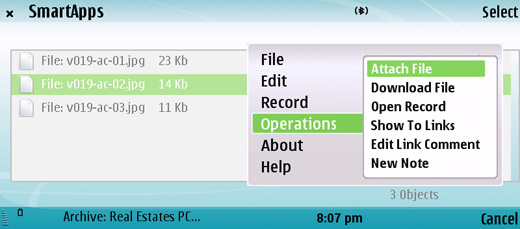
- Attach File
- Use this function to attach a file to the record. You will be asked to locate the file to be attached. Find the file and press the Enter key. The file will be attached to the record. Its filename will appear in the list of Attachments with the prefix "File:". You can attach as many files as you like to a single record.
- The 'Attach File' command attaches a file to a record by copying the file into a folder called "Attach" that is in the same folder as your HansaWorld SmartApps application. This means that you will still be able to download and read the attached file, even after the original has been deleted.
- You must have saved a record at least once before you can attach objects to it.
- Download File
- Use this command to save an attached file somewhere on your Nokia E90. Highlight the file to be downloaded and then select the command. Specify where you want the file to be saved and press the Enter key. The file will not be deleted from the Archive.
- Open Record
- Use this command to open an attached file. Highlight the file to be opened and then select the command.
- You can also open an attached file by highlighting it in the Archive list and pressing the Enter key.
- Edit Link Comment
- When you attach a file to a record, its file name and size will be shown in the list of Attachments. When you attach a note to a record, it is not immediately given its own name in the list.
- If you want to rename a file or note, highlight it in the list of Attachments and select Options > Operations > Edit Link Comment.
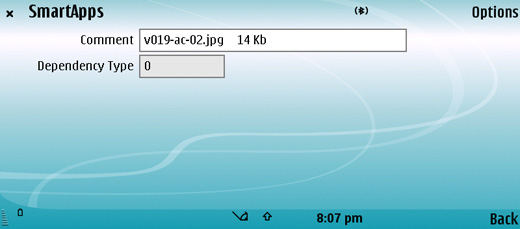
- Enter the new name and save it using the Shift-Enter key combination (using the Enter key in the bottom right-hand corner of the keyboard only) or using Options > Record > Save. You will be returned to the list of Attachments. If you don't want to save the new name, return to the list of Attachments by selecting Back. You will be asked if you want to save any changes.
- New Note
- This command allows you to attach notes or comments to records. After selecting the function, type in your comment in the field provided:
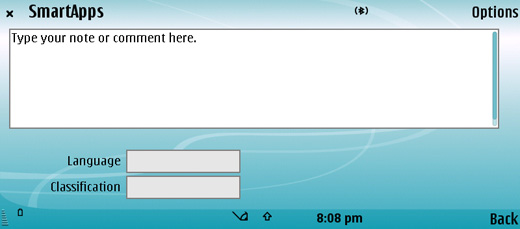
- Save the note using the Shift-Enter key combination (using the Enter key in the bottom right-hand corner of the keyboard only) or using Options > Record > Save. Return to the list of Attachments by selecting Back. You will be asked if you want to save any changes made to the note since it was last saved.
- The note will appear in the list of Attachments with the prefix "Note:". If you want to identify the note with a name, use Options > Operations > Edit Link Comment described above. You can attach as many notes as you like to a single record.
- You can read and edit a note by highlighting it in the Archive list and pressing the Enter key.
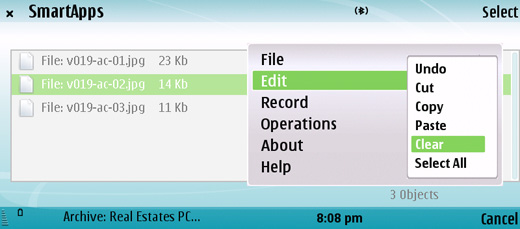
To delete an Attachment, highlight it in the list of Attachments and select
Options > Edit > Clear:
If the App you are working with is one that is likely to have picture attachments, it will probably have a picture field:
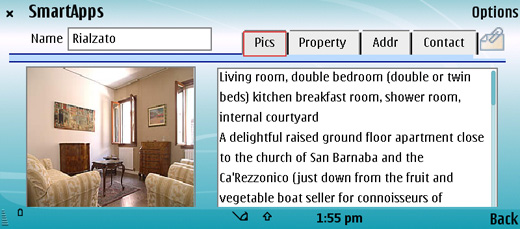
The picture field will display the first image that has been attached to the record, providing it is a .jpg file. Use the Ctrl-+ and Ctrl-- key combinations to scroll through the image attachments (or select
Options > Next and
Options > Previous respectively).
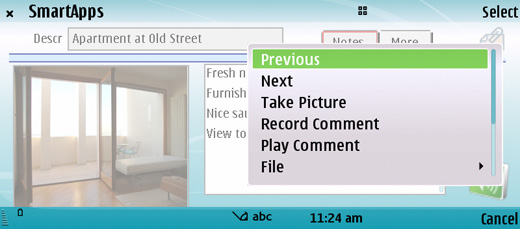
If a tab contains a picture field as the 'Pics' tab does in the example illustrated above, Options will contain some extra commands:
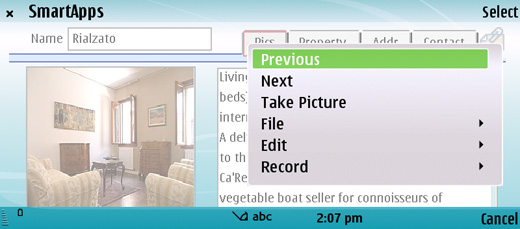
- Previous, Next
- Use these commands to display any image files (.jpg files) that have been attached to the record, one by one in the picture field. You can also use the Ctrl-- and Ctrl-+key combinations respectively.
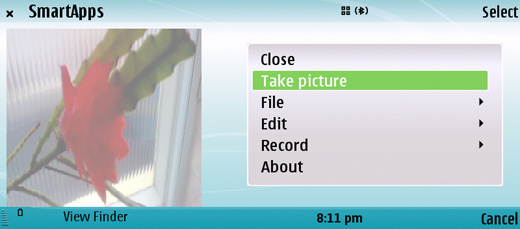
- Take Picture
- Use this command to take a photograph using the Nokia E90's camera and to attach that photograph to the record. After selecting the command, compose the photograph using the view finder:
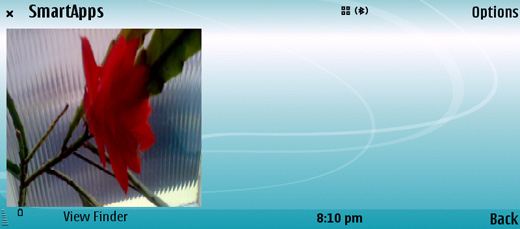
- Then, select Options > Take Picture.
- The picture will be added automatically to the Archive with the name "Image.jpg". You can change the name by opening the Archive and selecting Options > Operations > Edit Link Comment as described above.
- You can close the clamshell and use the smaller front screen if necessary.
If the App you are working with is one that is likely to have sound attachments, it will probably have a sound field (shown in the bottom right-hand corner in the example illustration below):
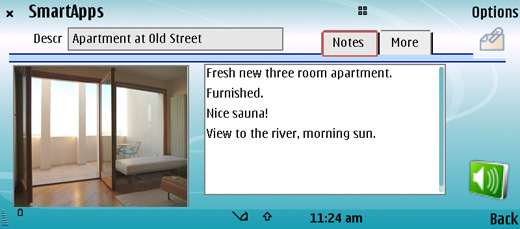
If a tab contains a sound field as the 'Notes' tab does in the example illustrated above,
Options will contain some extra commands:
- Record Comment
- Use this command to record a sound file and to attach that sound file to the record. When you select the command, the Voice Recorder opens:
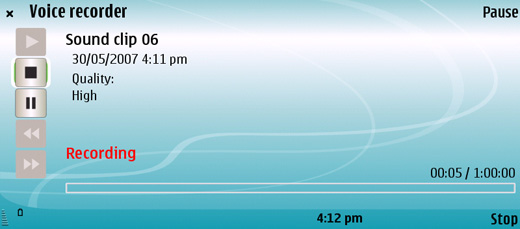
- After recording, the sound file will be added to the Archive automatically.
- Play Comment
- This command will play any sound file (.wav file) that has been attached to the record (the first sound file if there is more than one).
---
In this chapter:
See also:
---
Go back to:
See also: