|
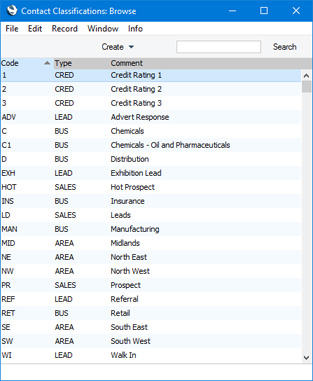
Search HansaManuals.com HansaManuals Home >> Standard ERP >> Customers, Suppliers and Contact Persons >> Settings Previous Next Entire Chapter in Printable Form Search This text refers to program version 8.4 Contact Classifications This page describes the Contact Classifications setting in the CRM module.--- Together with Customer and Supplier Categories, you can use Contact Classification to classify Contacts. The important difference between the Classification and the two Categories is that you can allocate more than one Contact Classification to each Customer, but only one Customer Category and only one Supplier Category. You can also use Classifications with Contacts that are not Customers or Suppliers (e.g. with Contact Persons). After defining your Contact Classifications, you can assign them to your Contacts using the Classification field on the 'Contact' card of each Contact record. This field can contain one or more Contact Classifications, separated by commas. So, for example, you can use Classifications to note that a particular Contact is a lead, is in the retail sector and has a credit rating of 3. You can use the Contact Classification as a search criterion in many reports, forms and Maintenance functions. You can report on Contacts with a particular Classification or with a particular combination of Contacts. You can also use it as a means of targeting mailshots using the Customer Letter register in the CRM module. You can divide Contact Classifications into Classification Types, allowing great flexibility. To work with Contact Classifications, first use the [Switch Module] button in the Navigation Centre to ensure you are in the CRM module. Then, if you are using Windows or Mac OS X, click the [Settings] button, also in the Navigation Centre , and double-click 'Contact Classifications' in the resulting list. If you are using iOS or Android, select 'Settings' from the Tools menu (with 'wrench' icon) and tap 'Contact Classifications' in the 'Settings' list. The 'Contact Classifications: Browse' window opens, listing the Contact Classifications that you have already entered:
After you have saved a new Contact Classification for the first time, you cannot change its Code simply by typing into the field. If you need to change a Code, use the Conversions - Master and Conversions - Contact Classifications settings in the System module. These settings will change the Code both here and in all other registers where the Classification has been used. --- Settings related to Contacts:
|