Items and Pictures - Attaching Pictures to Item Records
This page describes the process of attaching pictures to Item records.
---
You can attach pictures to records in the Item register from Windows and Mac OS X clients. Follow these steps:
- Open the record in question. The record must already have been saved at least once (i.e. the window title must be 'Inspect' or 'Update').
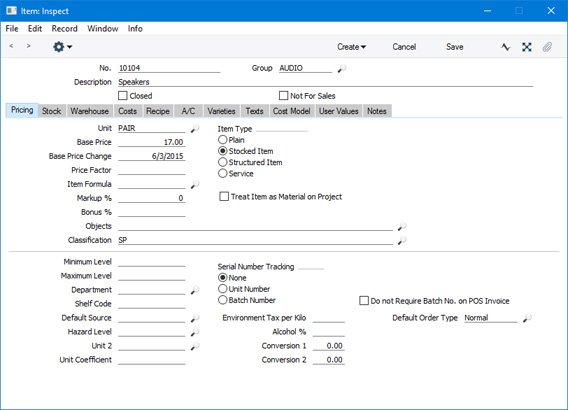
- Click the [Document Manager] button (in the top right-hand corner with the paper clip icon) or select 'Attachments' from the Record menu. A list of objects currently attached to the record will be opened.
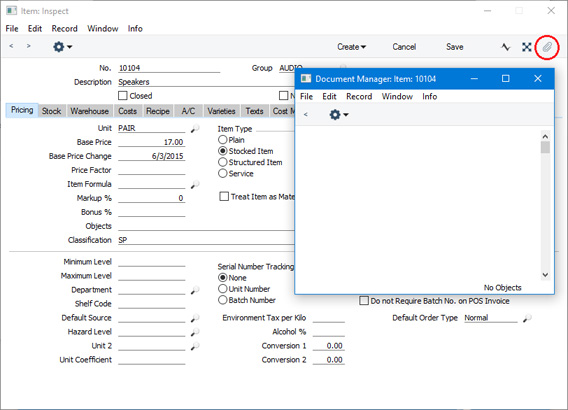
- Choose 'Attach File' from the Operations menu of this list.
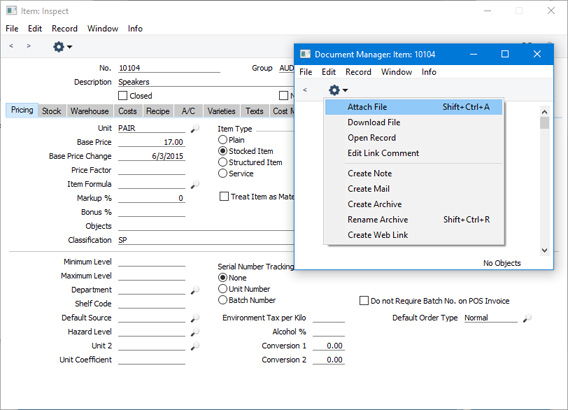
- Locate the picture file on your hard disk and click [Open]. The picture will be attached to the record. Pictures larger than 280 x 280 pixels will be scaled. Please refer here for a list of the file formats that you can use.
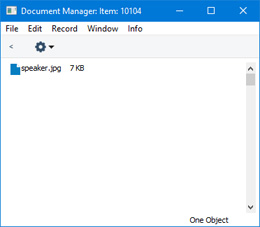
- After the picture file has uploaded, you may need to close and reopen the record to see the picture:

Mac OS X
In the Mac OS X version of Standard ERP, you can attach pictures to Item records as described above, but you can also use the [Add picture] button underneath the picture field:
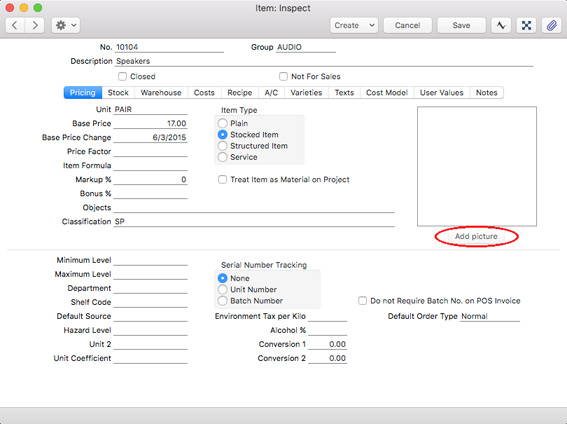
When you click this button, the 'Edit Picture' window will open:
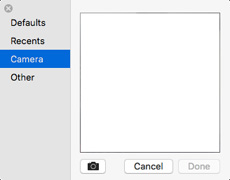
If the picture is already on your hard disk, click the [Other] button to locate it. Alternatively, click the button with the camera icon to take a photograph of the Item using your computer's camera.
In both cases you can then scale the picture using the slider and, if the picture is too big, move the picture by dragging so that the part you need is in the centre of the frame (the part outside the frame will be cropped).
Finally, click the [Done] button to add the picture to the Item. The picture will be converted to .PNG format and will appear in the Document Manager with the name "image.png". You may need to close and reopen the Item record to see the picture:
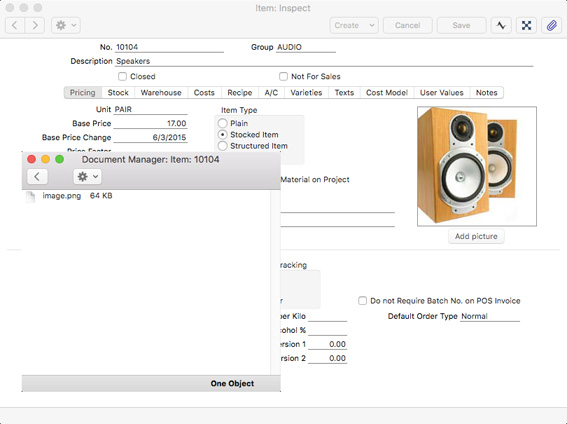
It is not recommended that you use the [Add picture] button in mixed networks. The [Add picture] buttons converts picture files to the .PNG format, and .PNG pictures will not be displayed in Item records on Windows clients. Please refer
here for more information about file formats.
Adding Pictures to Items in Batches
You can also add pictures to Items in batches. Follow these steps:
- Save the image files in a folder named "Pictures" which should be in the same folder as your Standard ERP application (on the server in a multi-user system). If you have a Linux server, remember when naming the folder that Linux is case-sensitive.
Each image file should have an Item Number or an Item's Alternative Code as its file name. For example, the image that will be attached to Item 10101 should be named 10101.jpg.
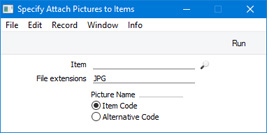
- Run the 'Add Pictures to Items' Maintenance function in the Technics module:
- Item
- Paste Special
Item register
- Range Reporting Alpha
- If necessary, specify an Item or Items to which pictures are to be attached. Leave blank for all Items.
- File extensions
- If the "Pictures" folder contains image files in different formats, specify here the formats that you want to be attached to your Item records. You can specify more than one, separated by commas.
- For example, if your "Pictures" file contains jpg, png and bmp files and you enter "jpg,png" in this field, the jpg and png files will be attached to the relevant Item records, but the bmp files will be ignored.
- Do not enter the full stop in this field. For example, enter "jpg" or "jpg,png", not ".jpg" or ".jpg,.png".
- If you have a Linux server, remember again that Linux is case-sensitive. So, be sure to enter "JPG" here if you have used ".JPG" in your file names.
- Picture Name
- Use these options to specify whether you have named your image files after your Item Numbers or after the Alternative Codes in your Item records.
- Press the [Run] button. Pictures will be attached to your Item records as specified. If you have named your image files after Alternative Codes, an image will be attached to every Item record with the same Alternative Code.
---
The Item register in Standard ERP:
Go back to:
