POS Button Types in Bar Tabs - Customer Functions
This page describes the following POS Button Types in Bar Tabs:
- Change Address
- Customer Search
Please refer
here for an index of all POS Button Types.
---
Change Address
- Function
- Allows the waiter or member of bar staff to change the Invoice Address in a Bar Tab.
- Requirements
- Can only be used on tills and devices that have keyboards.
- Workflow
- Click or touch the "Change Address" button.
- The 'Change Address' window appears:
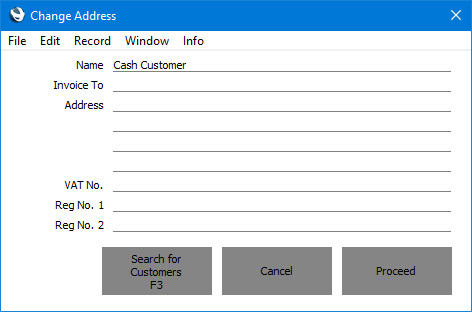
- Enter the new address details.
- A numeric keypad will open automatically when you move to the VAT No., Reg. No. 1 and Reg. No 2 fields. Use the keypad to enter the VAT or company registration number and then click or touch the [Enter] button in the keypad to add the number to the 'Change Address' window.
- Click or touch the [Proceed] button to add the new address to the Bar Tab, or the [Cancel] button to return to the Bar Tab without changing the address.
If you need to change the address to one that is already in the Contact register, click or touch the [Search for Customers] button. Then proceed as described immediately below for the "Customer Search" button. Note that the [Search for Customers] button will only copy an address to a Bar Tab, it won't change the Customer in the Bar Tab. If you need to do this, use the "Customer Search" button.
- Notes
- The address will not be visible on screen, but it will be printed on the receipt if you have included the relevant fields (for example, "Address") in your Form Template design.
Customer Search
- Function
- Allows the waiter or member of bar staff to change the Customer in a Bar Tab.
- Requirements
- Can only be used on tills and devices that have keyboards.
- Workflow
- Click or touch the "Customer Search" button.
- The 'Search for Customers' window appears:
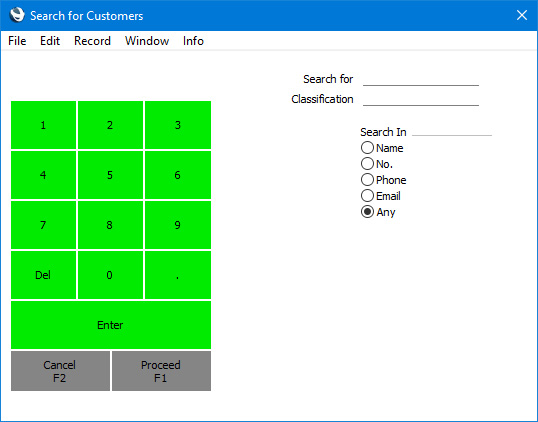
- Enter part of the Customer's name or other piece of information (information that fits one of the radio button options e.g. telephone number or email address) in the Search for field.
Entering more than one word as the search string will be treated as a "Find All Words" search, not "Find Exact Phrase".
- Press the Enter key twice, or click or touch the [Proceed] button.
- The 'Paste Customer' window will appear, listing the results of the search:
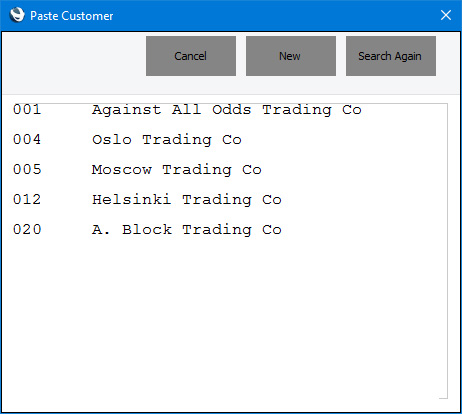
- Click or touch the Customer that you need. The Customer will be added to the Bar Tab. If the Customer that you need isn't listed, click or touch the [Search Again] button or close the window using the [Cancel] button, the close box or the Esc key.
If the Customer that you need isn't in the database, you can use the [New] button to create a new record, providing your till has a live connection to the server. Please refer to the description of the Fields for Creating New Customers setting in the Point of Sales module for more details.
- Notes
- In a new Bar Tab, the Customer will be the Default Customer specified in the Local Machine setting or, if that field is empty, in the POS Settings setting.
- An alternative method that will also change the Customer in a Bar Tab is to add a Loyalty Card to the Bar Tab using the "Loyalty Card" button.
- If you use the "Customer Search" button to choose a Customer that has a Loyalty Card, that Loyalty Card will not be brought in to the Bar Tab. You will need explicitly to bring it in using the "Loyalty Card" button.
- If you need waiters and bar staff to be able to use the "Customer Search" button but you do not want them to be able to create new Customers, assign them to an Access Group in which you have denied access to the 'Creating New Customer from Touch Screen POS Invoice' Action.
---
Configuring the Bar Tab Window:
Go back to: