Local Machines
The Local Machines setting should contain a list of the cash machines and tills in your Point of Sale environment. Making a list of cash machines and tills is necessary for the following purposes:
- It provides a look-up table that will be used whenever you need to specify a Local Machine using 'Paste Special'.
- If you need to produce a report or run a Maintenance function (e.g. the 'Cash Up' report/Maintenance function) for every cash machine and till, the report or function will work from the list of cash machines and tills in this setting.
You can find the Local Machines setting in the Point of Sales, Restaurant and Technics modules. To open the Local Machines setting, first ensure you are in one of these modules. Then, if you are using Windows or Mac OS X, click the [Settings] button in the Navigation Centre or use the Ctrl-S/⌘-S keyboard shortcuts and then double-click 'Local Machines' in the 'Settings' list. If you are using iOS or Android, select 'Settings' from the Tools menu (with 'wrench' icon) and tap 'Local Machines' in the 'Settings' list. The 'Local Machines: Browse' window will open, listing the Local Machines that you have previously entered. To enter a new Local Machine, select 'New' from the Create menu (Windows/Mac OS X) or the + menu (iOS/Android). The 'Local Machine: New' window appears: enter details as described below the illustration and click [Save] (Windows/Mac OS X) or tap √ (iOS/Android) to save the new record.
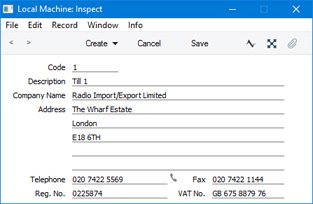
Specify a unique Code for each Local Machine. You can use up to 20 characters. The remaining fields are for information only, but the Description will be shown in the 'Paste Special' list, so it should be descriptive enough to make the selection of the correct Local Machine easy for all users.
---
Settings related to Point of Sales:
Go back to: