Entering a Service Stock Transaction
You will use Service Stock Transactions to record movements of repair Items in to and out of the workshop. You can enter Service Stock Transactions using the following methods:
- Open the 'Service Stock Transactions: Browse' window as described here and select 'New ' from the Create menu (Windows/macOS) or + menu (iOS/Android). If you use this method, be sure to specify a Service Order Number in the new Service Stock Transaction before saving.
- Open the Service Order against which you are receiving a repair Item into the workshop or signing it out, or highlight the Service Order in the 'Service Orders: Browse' window. Select 'Service Stock Transaction' from the Create or + menu.
If you use this method, the new Service Stock Transaction will be presented in a 'Service Stock Transaction: Inspect' window. This means that the record will already have been created and saved into the register. To delete it you must choose 'Delete' from the Record menu (which has a 'cog' icon if you are using iOS or Android).
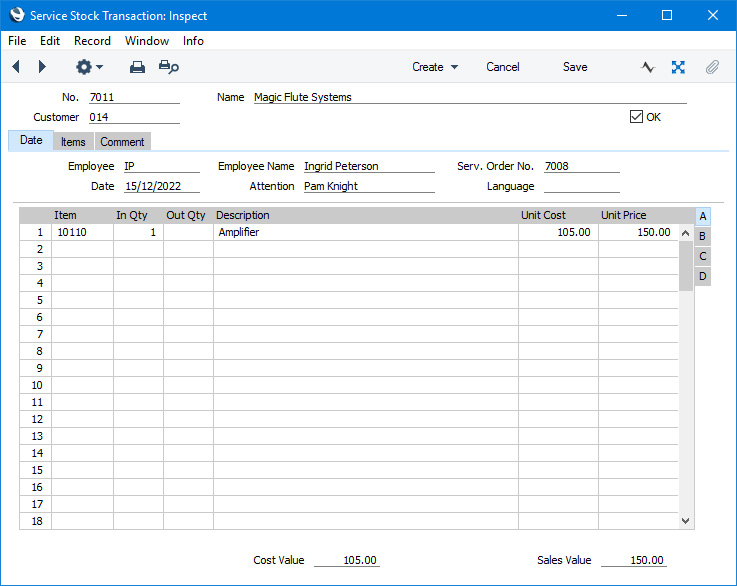
Since the amount of information stored about each Service Stock Transaction will not fit on a single screen, the Service Stock Transaction window has been divided into three cards. At the top of each is the header. This contains the Transaction Number, the Customer Number and Name and the OK check box. There are three named buttons ('tabs') in the header.

By clicking the tabs you can navigate between cards. The header is always visible, as a reminder of the Service Stock Transaction you are working with.
If you are using iOS or Android, there will only be two tabs, marked 'Items' and 'Details'. If you tap 'Details', you will see every card except 'Items' arranged vertically on screen. You can scroll down to see each one, or you can jump to any card by tapping on any tab and selecting the tab you want to go to.
Please refer to the following pages for details about the fields on each card:
---
The Service Stock Transaction register in Standard ERP:
Go back to: