Create Menu - Contact - Workflow Activity
This page describes the 'Activity' function on the
Create menus in the Contact browse window and the 'Workflow Activity' function on the Create menu in the Contact record window. If you are using iOS or Android, these functions are on the + menu.
---
Creating Activities from Contacts can be useful when you need to schedule a follow-up task related to a Contact, such as calling a new sales lead.
You can create an Activity from a Contact using the following methods:
- Highlight the Contact in the 'Contacts: Browse' window and select 'Activity' from the Create menu (Windows/macOS) or + menu (iOS/Android). If you are using iOS or Android, you can highlight a Contact by searching for it.
- Open the Contact in a record window and select 'Workflow Activity' from the Create or + menu. Save any changes you have made to the Contact before selecting the function.
- Open the Contact in a record window and then open the 'Workflow Manager' window. Click or tap the [+] button in this window to create a new Activity.
- From a Contact record, print the Customer Status or Supplier Status report to screen and click or tap the [New Activity] text link at the top of the report. The Task Type of the new Activity will be To Do, and the Symbol will be Other. The Start Date and Start Time in the new Activity will be the current date and time.
If the [New Activity] text link is missing from the Customer Status report, the probable causes are:
- You produced the Customer Status report from the 'Reports' list in the Sales Ledger or CRM modules. For the [New Activity] text link to be included in the report, produce it by opening the Contact record for a Customer and choosing 'Customer Status' from the Operations menu; or
- You do not have your own record in the Info in Customer Status Report setting in the CRM module.
The [New Activity] text link will always be visible in the Supplier Status report.
- If you call a Contact from the 'Communication Centre' window, a new Activity window will be opened when the call is answered, allowing you to record the details of the conversation immediately. When the call ends, click the [End Activity] button in the Activity: this will bring an End Time and Cost (Time) in to the Activity and will also save the Activity.
Similarly, if one of your Contacts calls you using SIP and your Standard ERP database is open, a new Activity window will be opened when you answer the call, again allowing you to record the details of the conversation. The Task Type of these Activities will be To Do, the Calendar Type will be Don't Show and the Symbol will be Call.
In all cases, the new Activity will be opened automatically for checking and approval:
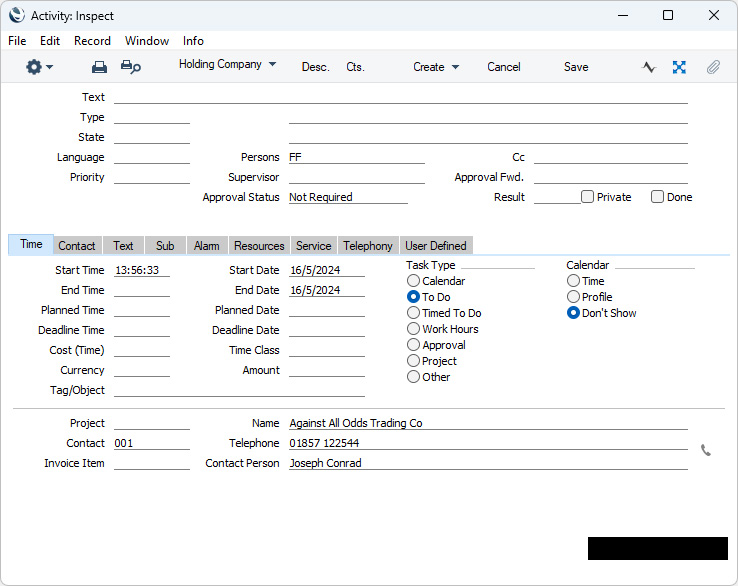
The new record will be opened in a window entitled 'Activity: Inspect'. This means that it has already been saved and is being opened for checking.
The new Activity will contain the following information:
- If you created the Activity from a Customer or Supplier, the Customer or Supplier Number and Name, Primary Contact and Phone Number will be brought in automatically to the fields on the 'Contact' card of the Activity. If you created the Activity from a Contact Person, their Name and Phone Number and the Number and Name of the Customer or Supplier they work for will be brought in to the 'Contact' card. If the Contact Person works for more than one Customer or Supplier, the one with the lowest No. will be used.
- No default Activity Type will be offered.
- The Task Type will be To Do.
- The Calendar Type will be Don't Show.
- The Symbol will be Other.
- The Start Date and Time of the Activity will be the current date and time.
- The Person will be the current user. As the Task Type will be To Do, the Activity will be placed in the current user's Task Manager.
After amendment if necessary, save the record in the Activity register by clicking the [Save] button (Windows/macOS) or tapping √ (iOS/Android). You can then close it using the close box (Windows/macOS) or by tapping < (iOS/Android). Alternatively, if you no longer require the Activity, remove it using the 'Delete' function on the Record menu (which has a 'cog' icon if you are using iOS or Android). In either case, you will be returned to the Contact window.
The Contact and the Activity will be connected to each other through the Link Manager and Workflow Manager. When reviewing the Activity, you can return to the Contact quickly and easily using the Link Manager in the Activity, while you can open the Activity from the Contact using the Workflow Manager.
You must save a Contact record at least once before you can create an Activity from it. This is to ensure that the links mentioned in the previous paragraph can be established.
The 'Activity: Inspect' window is fully described here.
---
The Contact register in Standard ERP:
Go back to: