|
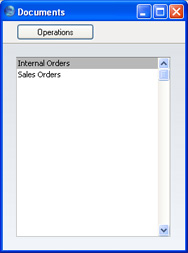
Search HansaManuals.com HansaManuals Home >> Discontinued Products >> HansaWorld FirstOffice Professional >> Sales Support Module >> Documents Previous Next Entire Chapter in Printable Form Search This text refers to program version 4.3 Introduction to Documents in the Sales Support Module Use the 'Documents' function to print particular documents or Forms in batches. To begin printing documents, select 'Documents' from the File menu or click the [Documents] button in the Master Control panel. The window illustrated below appears, listing the documents that you can print from the Sales Support module. Each item ("Document") will be printed using a different Form.
It is often possible to report on a selection range, such as a range of Order Numbers. To do this, enter the lowest and highest values of the range, separated by a colon. For example, to report on Customers 001 to 010, enter "001:010" in the Customer field. Depending on the field, the sort used might be alpha or numeric. In the case of an alpha sort, a range of 1:2 would also include 100, 10109, etc. If you have the CRM and Mail and/or the Quotations Value Packs, the Sales Support module will contain some extra documents not shown in the illustration above. Please click the links for descriptions of these extra documents. Previous Next Top Entire Chapter in Printable Form |