Adding and Editing Objects in Form Templates - Pictures
This page describes adding pictures and images to a Form Template.
---
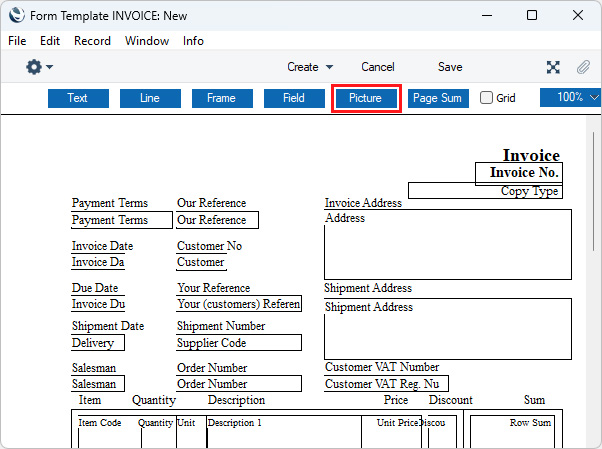
To add a picture to a Form Template, click the [Picture] button at the top of the Form Template window:

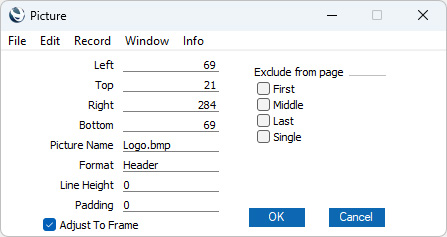
Then use the mouse or trackpad to draw a frame where the picture is to appear. When you release the mouse button, a dialogue box will appear:

- Left, Top, Right, Bottom
- Use these fields to specify the size and position of the picture on the page. When you add a new picture to a Form Template, the measurements of the frame that you have just drawn will appear here.
- Picture Name
- Paste Special
Files on your hard disk
- Enter the file name of the picture as it is on your hard disk. You can use 'Paste Special' to ensure that the file name is spelt correctly and that the case is correct (important for Linux). However, doing so will bring in the absolute path name of the picture. It is recommended that you store picture files in the same directory or folder as your Standard ERP database and application and that you remove the path name to leave the file name only (i.e. that you use a relative path name). If you use the absolute path name, it will become incorrect if you move your Standard ERP folder and as a result the picture will no longer be printed.
- In client-server systems, pictures should be stored on the server. If you are working from a client machine when you design a Form Template and you want to see the pictures in the Form Template window, then the pictures should be on your client machine as well. If you store your pictures in the same directory or folder as the Standard ERP application on both the server and your client and you use relative path names as recommended in the previous paragraph, then those path names will point to the picture files both when printing and when editing Form Templates.
- The following file formats are supported: 8-Bit BMP, 24-Bit BMP, JPG and PNG. Additionally, PDF is supported for macOS clients. If you will use the Form Template to create pdf files, the picture format must be 24-Bit BMP, JPG or PNG. This applies when the pdf file will be generated by Standard ERP. Please refer to the lower part of the Styles page for details about pdf generation.
- All picture file names should have the correct extensions.
- If the Form Template is one that will be faxed through a fax server, bear in mind that any pictures will be omitted.
- Format
- The pictures that you can include in a Form Template fall into two categories: pictures that will be printed once in a document (e.g. your company logo); and pictures of Items to be printed in documents such as Quotations, Orders and Invoices (i.e. a different Item picture can be printed in each row). For the first category, enter the file name of the picture in the Picture Name field above and enter 0 as the Format. For the second category, leave the Picture Name field empty and enter 1 as the Format.
- Line Height, Padding
- These fields are only used when the Format above is 1. Please refer to the Printing Item Pictures on Forms page for full details.
- Adjust to Frame
- This option controls how the picture will be printed if it is larger than the frame that you define using the Left, Top, Right and Bottom fields. If you select this option, the picture will be scaled so that they fit in the frame. This may result in the picture being distorted if its proportions are different to those of the frame. If you do not select this option, part of a large picture will be printed outside the frame.
- Exclude from page
- Please refer to the Single- and Multi-Page Forms page for details about these options.
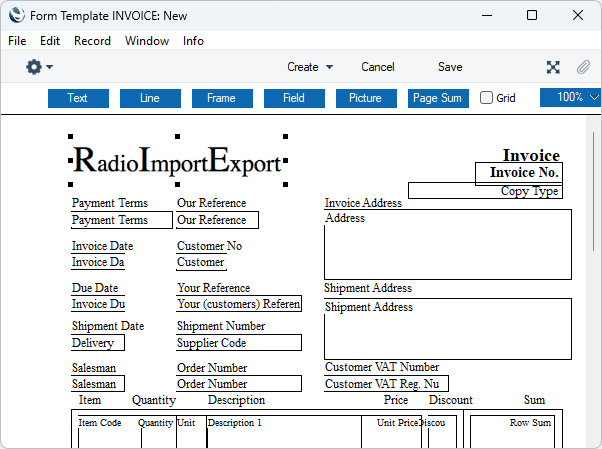
Click [OK] to save. The field will be added to the Form Template. You can move it by dragging and dropping. If the picture is not visible in the Form Template window, the possible reasons are that the picture file is not in a supported format or it is not located on the machine that you are using.

To edit a picture after you have added it to a Form Template, double-click it to open the 'Picture' dialogue box.
If you would like an image (e.g. a company logo) to printed in the top left-hand corner of every form (except labels), specify the file name in the Company Logo File field on the 'Fonts' card in the Company Info setting. This will mean that you won't need to add a picture element for that image to Form Templates. If you need the image to be printed in a different position (i.e. not in the top left-hand corner) add an empty picture element (one in which the Picture Name field is blank) in that position. You will also need to add an empty picture element for the image if there are other picture elements in a Form Template.
Please refer to the following pages for details about the different types of object that you can add to Form Templates:
See also:
---
The Form Template register in Standard ERP:
Go back to:
