|
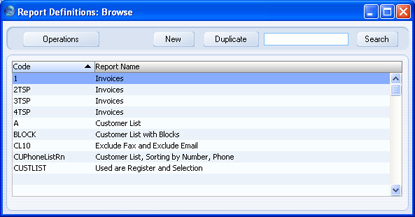
Search HansaManuals.com HansaManuals Home >> Standard ERP >> Report Generator >> Creating a New Report Previous Next Entire Chapter in Printable Form Search This text refers to program version 5.3 Introduction To create a new report, first go into the Report Generator by clicking the [Module] button in the Master Control panel and double-clicking 'Report Generator' in the subsequent list. If 'Report Generator' is not available in the 'Modules' list, the likely causes are that you have logged on as a Person that does not have access privileges for this module, or you have not enabled the Report Generator option in the Configuration setting in the System module.The Report Generator module contains three registers, of which the most important one is the: Report register. The other two registers, Forms and Styles, are also present in the System module: please click the links for full details. Each record in the Report register contains the entire definition of a single report, as outlined in the bullet points in the introduction to these web pages. Open the Report register by clicking the [Reports] button in 'Registers' section of the Master Control panel. The 'Reports: Browse' window is opened, listing any reports that have already been designed:
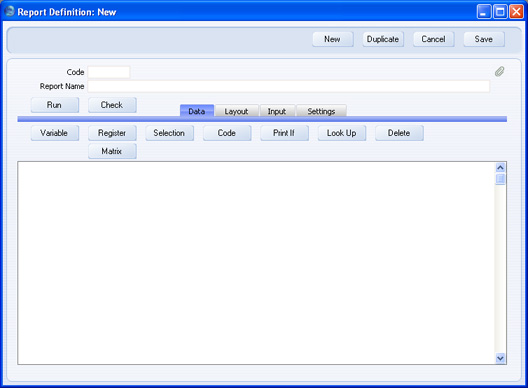
The 'Report Definition: New' window opens, empty if you clicked [New] or containing a duplicate of the highlighted Report.
To define a report, click a button above the report display area. A dialogue box will then open, where you can specify one element of the report. When you click [OK], the dialogue box will close and the new report element will appear in the report display area. In some cases, you should click on an existing element before clicking a button above the report display area. This will ensure the element you are about to add will appear in the correct section of the report. If an element in the report display area is in the wrong place, move it by dragging and dropping. If an element in the report display area contains an error, double-click it to re-open the dialogue box to correct the error. If you want to delete the element altogether, click once on it and then press the Backspace key, select 'Clear' from the Edit menu or click the [Delete] button. Be careful as you cannot undo deletions. In these web pages, we will illustrate the use of the Report Generator by designing a Customer List with various features. Please click the links below for more details about:
Previous Next Top Entire Chapter in Printable Form |