Local Machine
This page introduces the Local Machine setting in the User Settings module with particular reference to its use in the Restaurant module. Please refer
here if you need a description focusing on its use in the Point of Sales module.
---
The Local Machine setting in the User Settings module contains various options controlling the behaviour of each till and cash machine.
You can configure the Local Machine setting in two ways:
- On tills that have live connections to the server, you must configure this setting separately on each till. This method is described immediately below.
- You can create a separate record for each till in the Local Settings setting in the Technics module. You must use this method for tills that have live-sync connections to the server, but you can also use it to pre-configure the options that you need to be used on tills with live connections.
When a till with a live-sync connection logs in for the first time, the relevant record from the Local Settings setting will be sent to the till automatically, updating the Local Machine setting on that till. If you change the record in the Local Settings setting, the change will be sent to the till as soon as possible. On updating a till to a new version of Standard ERP and starting the new version without a database for the first time, the relevant record will again be sent to the till automatically. This is described in more detail here.
When a till o with a live connection logs in for the first time, go to the Local Machine setting and choose a Local Machine Code using 'Paste Special'. The fields in the Local Machine setting will be filled in with information taken from the relevant record in the Local Settings setting. In this situation, you can create separate records for each till and device in the Local Settings setting, but you can also create a default record in which the Code is empty.
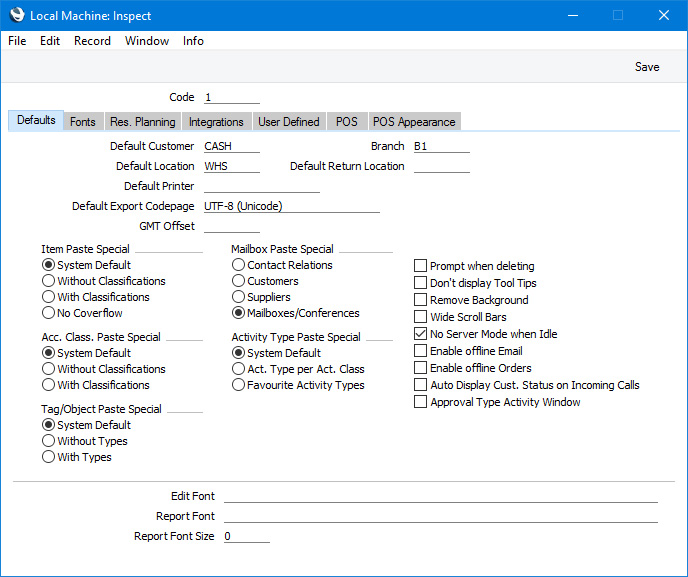
To edit the Local Machine setting if you are working on a till with a live connection to the server, first change to the User Settings module using the [Switch Module] button in the Navigation Centre. Then, if you are using Windows or macOS, click the [Settings] button, also in the Navigation Centre or use the Ctrl-S/⌘-S keyboard shortcuts and then double-click 'Local Machine' in the resulting list. If you are using iOS or Android, select 'Settings' from the Tools menu (with 'wrench' icon) and tap 'Local Machine' in the 'Settings' list. The 'Local Machine: Inspect' window opens:

Fill in the fields as described on the pages that are linked below. Only the options in the Local Machine setting that are relevant to the Point of Sales module and the touch-screen interface are described here. Then, to save changes and close the window, click the [Save] button (Windows/macOS) or tap √ (iOS/Android). To close the window without saving changes, click the close box (Windows/macOS) or tap < (iOS/Android).
Please follow the links below for details about each card:
---
Go back to:
