Introduction to the Brought Forward Balances Register
This register holds the opening balances for all Accounts. The register works in the same way as the
Transaction register.
- In the Nominal Ledger, click the [B/FW Balances] button in the Master Control panel.
- Double-click the record you want to work with or click [New].
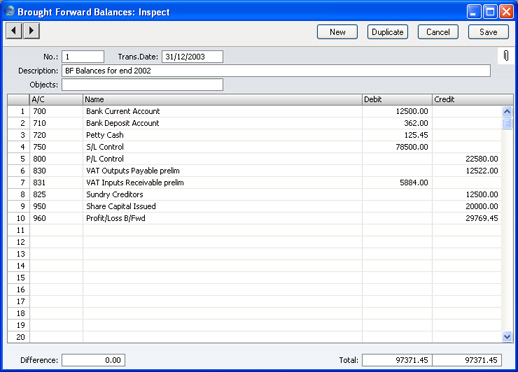
- Enter data as with Transactions.
- If you are using Objects, you should enter a separate record to the Brought Forward Balances register for each Object and one for the total. For example, if you have a Cash Account with a balance of 100.00 that is divided between two departments so that 49.00 belongs to Department 1 and 51.00 to Department 2, enter three Brought Forward Balance records as follows:
- 1st record, Cash Account, no Objects, total figure (100.00)
- 2nd record, Cash Account, Object for Dept 1, figure for Dept 1 (49.00)
- 3rd record, Cash Account, Object for Dept 2, figure for Dept 2 (51.00)
- Click [Save] to save the record.
Check the data by printing the
Trial Balance report. The Total Balance on the last line should show 0.00 in the opening balance column.
Please click here for a more detailed description about opening balances and the B/FW Balances register.