Client
Having configured the master as described
here, you can now go on to configure HansaWorld SmartApps on each client computer. The master should be running while you are doing this.
- After clicking the [Connect to Server] button in the window shown on the Starting HansaWorld SmartApps for the First Time page, the 'Server Address: Inspect' window will appear, listing the available servers in the same subnet as your client computer:
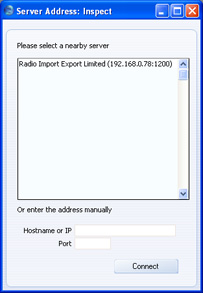
Double-click the server in the list that you want to log in to, or click once and then click the [Connect] button.
If the server is not in the same subnet as your client machine, enter its IP address in the Hardware or IP field, and specify 1200 in the Port field.
In both cases, the server details will be saved in the HansaWorld SmartApps client application.
- The 'Select Company' window will appear, containing your company name, as specified in step 2 on the Master page:
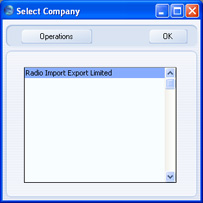
Double-click the company name, or highlight it and click [OK].
- The login window will appear:
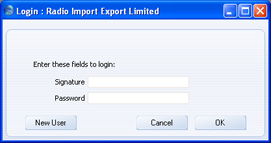
Click the [New User] button to create a user account for a person who will be using HansaWorld SmartApps. This person will not necessarily have to use HansaWorld SmartApps on the particular client computer that you are using to create their account. All user accounts are stored in the master database and any person will be able to log in and use HansaWorld SmartApps on any client computer containing the application.
If you did not specify a Master Password when configuring the master, you cannot use the [New User] button to create a new User Account. Instead, you should log in as an existing user, which will take you directly to step 8 below.
- A second login window will appear, where you should enter the Master Password that you specified in step 1 on the Master page:
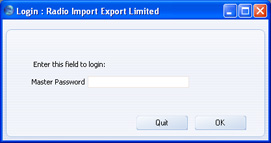
This will log you in to the master where the user account will be stored. Having entered the Master Password, click the [OK] button.
- The 'Create New User' window will be opened. Here you can enter a person's details, to create a user account for that person. You must enter a User Name, Full Name and Password before you can progress to the next step, but the other information is optional.
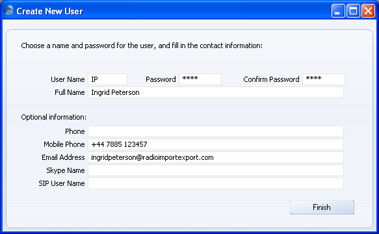
- User Name
- Enter the name that the person will use as their log-in identity code each time they log in to HansaWorld SmartApps. You can enter up to ten characters, so you might use the person's initials or a short version of their name. Do not use spaces or special characters.
- Full Name
- Enter the person's full name.
- Password, Confirm Password
- Enter to both fields the password that the person will use when logging in to HansaWorld SmartApps.
- Optional information
- Enter the person's contact information in the appropriate fields.
When you have completed the 'Create New User' window, click the [Finish] button at the bottom of the window.
- The 'Login' window appears, with the person's User Name already entered as the Signature:
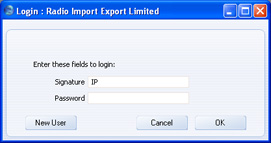
Enter the Password and click [OK].
- You will be asked if you want HansaWorld SmartApps to remember this person's Signature and Password, so that they do not have to enter them each time they log in.
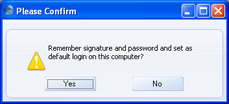
Bearing in mind that the Password is a security feature, it is recommended that you only click the [Yes] button if you are absolutely sure no-one other than yourself will have access to your computer. Whichever option you choose, you will be able to change it later if necessary.
- The Master Control panel will appear:
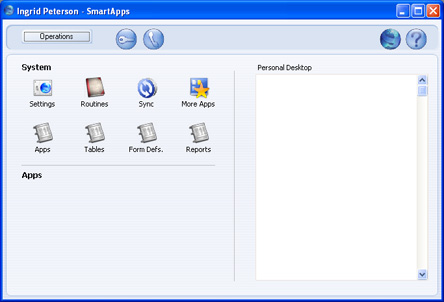
- Repeat the sequence for HansaWorld SmartApps on each client computer, creating user accounts for each person that will use HansaWorld SmartApps. In steps 6-8, you can log in as each person and specify a Password for them. They will be able to change it later. If you are installing HansaWorld SmartApps on a new client computer and do not need to create a new user account, log in as an existing user at step 3 to proceed to the Master Control panel.
---
In this chaper:
See also:
Go back to:
See also:
