Introduction to Synchronising Databases
Synchronising allows you to copy information from one HansaWorld SmartApps database to another, ensuring you have the same information on various machines.
Apps (Register, Window and Report Definitions) as well as the information they contain will be synchronised.
In a typical situation, the database on a desktop computer might act as the "master", although the master can reside on an E90 as well. Each time you connect to the master using a client or E90, you will be able to synchronise all modifications and additions. Local changes made on the client or E90 will be uploaded to the master, and any changes in the master database will be downloaded to the client or E90.
Before synchronising, you should check the Date and Numeric Format is the same on the master and on the client or E90.
In this example, we will assume the master resides on a desktop computer, and we will synchronise the database on a Nokia E90 with this master. Follow these steps:
- The first step is to configure the master on the desktop computer to allow for synchronisation. You only need carry this step out once.
- On the master, click the [Settings] button in the Master Control panel.

- The 'SmartApps Settings' window appears:
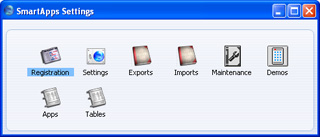
- Click the [Settings] button. The 'Settings' list window opens, showing the various settings or preferences available in HansaWorld SmartApps:
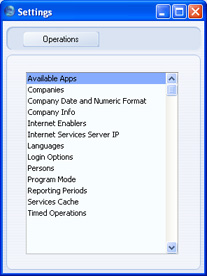
You can also use the keyboard shortcut Ctrl-S (Windows and Linux) or ⌘-S (Macintosh) from anywhere in HansaWorld SmartApps to open the 'Settings' list. - Double click 'Program Mode' in the list. The 'Program Mode: Inspect' window opens:
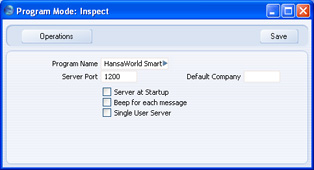
- Choose one of two options, as follows:
- Server at Startup
- Choose this option if the master is on a dedicated file server, and you will not be entering information directly to the master database.
- Single User Server
- Choose this option if the master is not on a dedicated file server, and you will need to enter information directly to the master database.
- Specify a Port Number. By default this will be 1200. If you have a firewall protecting your desktop computer, you should allow incoming connections through this port.
- Save and close the Program Mode window, and then quit and restart HansaWorld SmartApps. If you chose the Server at Startup option, the 'Server Status' window will appear, otherwise the Master Control panel will appear as usual.
- To synchronise the database on a Nokia E90 with the master database, follow these steps:
- On the Nokia E90, if you are using an existing database, log in using a user account that also exists in the master database. If you are starting with an empty database, you should create a user account that also exists in the master database, and which has the same password.
- Go to the Master Control panel (select Options > File > Master Control), then press the [Sync] button:
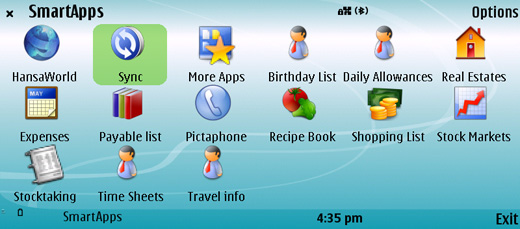
- The first time you press the [Sync] button, you will be asked to enter the IP address of the server, and the Port Number that you specified in step 1vi above: :
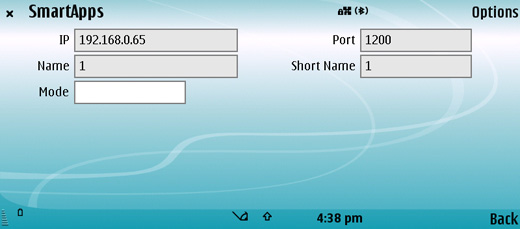
- Move the cursor to the Mode field and enter "Live Sync". You can press the Ctrl-Enter key combination and then choose "Live Sync" from a list of options to ensure the spelling is correct: :
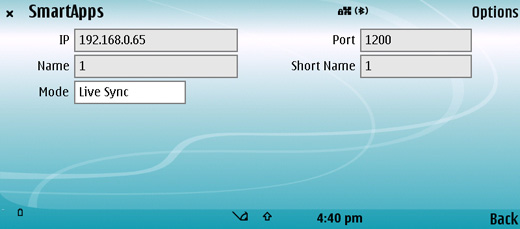
- Save the synchronisation settings by selecting Options > Record > Save, or by using the Shift-Enter key combination. HansaWorld SmartApps will close: restart the application to continue.
- You only need carry out steps 2i-v once. Afterwards, each time you click the [Sync] button in the Master Control pane, new information in the master will be copied to the E90, and new information on the E90 will be copied to the master.
---
Go back to:
See also:
