Balance Sheet - Multiple Balance Sheet Definitions
In some companies there is a requirement for multiple Balance Sheet definitions. To cater for this requirement, HansaWorld Enterprise allows you to add up to 15 Balance Sheet reports to the Nominal Ledger. Each of these reports can have its own definition. To add a new Balance Sheet, follow these steps:
- Click the [Settings] button in the Master Control panel and double-click 'Report Settings' in the subsequent list.
- When the 'Report Settings' window opens, click the [New] button. The 'New Report' window opens:
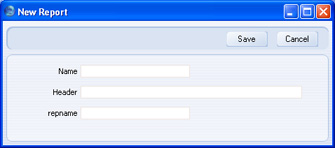
- Name
- Enter a name for the report. This name will appear in the 'Reports' list.
- Header
- Enter a second name for the report. This name will be printed in the report header, and will also appear in the title bar of the report window if you print the report to screen.
- repname
- Paste Special
Choices of possible entries
- You can create up to 15 Balance Sheet reports, 15 Profit & Loss reports and 15 Key Financial Ratios reports. Use this field to specify the report type (i.e. Balance Sheet, Profit & Loss or Key Financial Ratios), and also the report number (i.e. which one of the fifteen you are creating on this occasion).
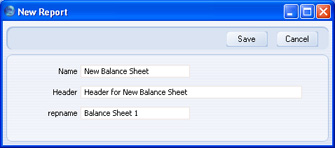
- Click the [Save] button to save the new report. The 'New Report' window closes, and the new report is added to the bottom of the list in the Report Settings window, using the Name specified in the 'New Report' window:
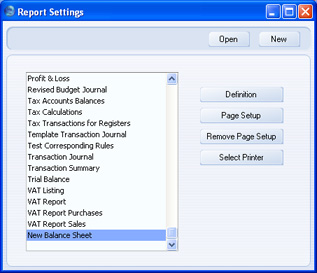
If you need to modify the report (perhaps you made a spelling mistake or you chose a temporary name), highlight it in the list in the 'Report Settings' window and click the [Open] button. The report is opened in the 'New Report' window illustrated in step 2.
- Having created the new report, you should now enter a definition for the new report. Highlight it in the list in the 'Report Settings' window and click the [Definition] button. This process is the same as for the 'standard' Balance Sheet, and is as described on the Defining a Balance Sheet page.
If the definition of the new report is to be similar to that of the 'standard' Balance Sheet or of another Balance Sheet that you have previously created, you can drag rows from the existing definition to the new one. Highlight each report in turn in the list in the 'Report Settings' window and click the [Definition] button. You will then have two report definition windows open:
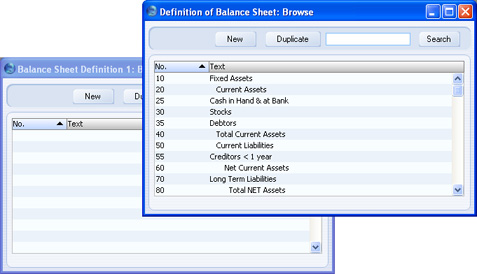
In the illustration above, the 'Definition of Balance Sheet: Browse' window contains the definition of the 'standard' Balance Sheet, while the 'Definition of Balance Sheet 1: Browse' window, empty at the moment, will contain the definition of the new Balance Sheet being created. The "1" in the window title corresponds to "Balance Sheet 1" in the repname field in the 'New Report' window illustrated in step 2.
You can drag rows individually from one window to the other, or you can highlight several rows at a time by shift-clicking and drag them all at once.
- To print the new report, open the 'Reports' list as normal. The new report will appear at the bottom of the list, using the Name specified in the 'New Report' window:
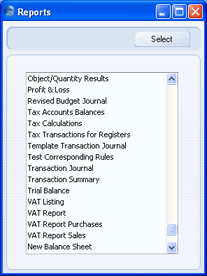
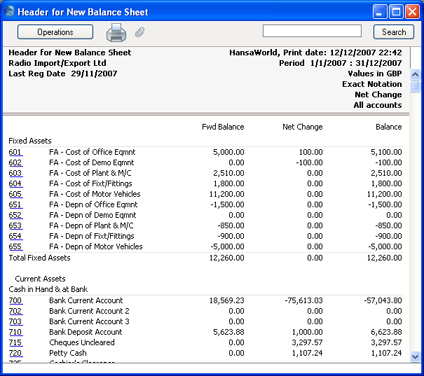
Double-click the report name and print the report in the usual way. The specification window for the report is the same as that for the 'standard' Balance Sheet, and is described in the 'Printing a Balance Sheet' section immediately below. The text in the title bar of the report window, and the report title on the first line of the report header ("Header for New Balance Sheet") will be taken from the Header field in the 'New Report' window illustrated in step 2 above.
- If you need to remove the new report, open the 'Reports' list as shown in step 5 and click on the report name. Then, select 'Clear' from the Edit menu.
