Items and Pictures - Printing Item Pictures on Forms
If you have
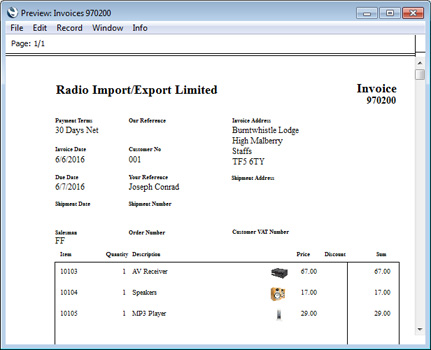
attached pictures to Item records, you can have those Item pictures to be printed on forms such as Quotations, Order Acknowledgements and Invoices. Follow these steps:
- In the System module, open the appropriate Form Template:
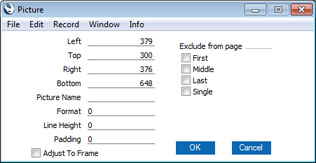
- Click the [Picture] button at the top of the 'Form Template' window and then draw a box using the mouse or trackpad in the Form Template where you want the pictures to appear. Usually you will need the pictures to appear in the matrix area together with the Item information. When you release the mouse button, a 'Picture' dialogue box will appear:

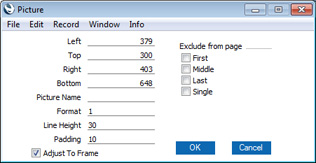
- Fill in the fields as follows:
- Picture Name
- Leave this field empty.
- Format
- Enter "1" in this field. This will mean that the Picture area will be treated in the same way as a row field i.e. the Item pictures will be printed in a column.
- Line Height, Padding, Adjust to Frame
- The Line Height in pixels should be large enough to display the Item pictures correctly.
- Ideally, your Item pictures should all have the same dimensions or at least the same proportions. The height of your pictures should be the same as the Line Height minus the Padding. Ensure that the width of the column (i.e. the Right coordinate - the Left coordinate) is the same as the width of your pictures.
- If your pictures are not all the same size, you may need to tick the Adjust to Frame box to scale the pictures so that they fit the allotted space. This may result in the pictures being distorted if their proportions are different to those of that space.
- It may be that you need pictures in different sizes, because the ideal size for display in the Item records may not be the same as the ideal size for printing. If so, you can attach more than one picture to each Item record. The first picture that you attach will be printed, and the last picture that you attach will be displayed in the Item record.
- The Line Height in the other row fields should be the same as the Line Height that you specify for the picture. This will ensure that the Item Description, Quantity, Price and other information will be aligned correctly with the pictures.
- If you need some white space below each picture, enter a number of pixels in the Padding field. The Padding is included in the Line Height, it is not in addition. For example, if the Line Height is 30 and the Padding is 10, each picture will be 20 pixels high and there will be 10 pixels of white space below it.

- An example is illustrated below:

---
The Item register in Standard ERP:
Go back to:
