Entering a Service Order
To enter a new Service Order, open the 'Service Orders: Browse' window as described
here and select 'New' from the Create menu (Windows/macOS) or the + menu (iOS/Android). You can also use the Ctrl-N (Windows and Linux) or ⌘-N (macOS) keyboard shortcuts. Alternatively, find and highlight a Service Order similar to the one you want to enter and select 'Duplicate' from the same menu. If you don't want to open the 'Service Orders: Browse' window before creating a new record, you can also use the + menu in the Navigation Centre (all platforms).
The 'Service Order: New' window will be opened, empty if you selected 'New' or containing a duplicate of the highlighted Service Order. In the case of the duplicate, the Order Date of the new Service Order will be the current date, not the date of the original Order.
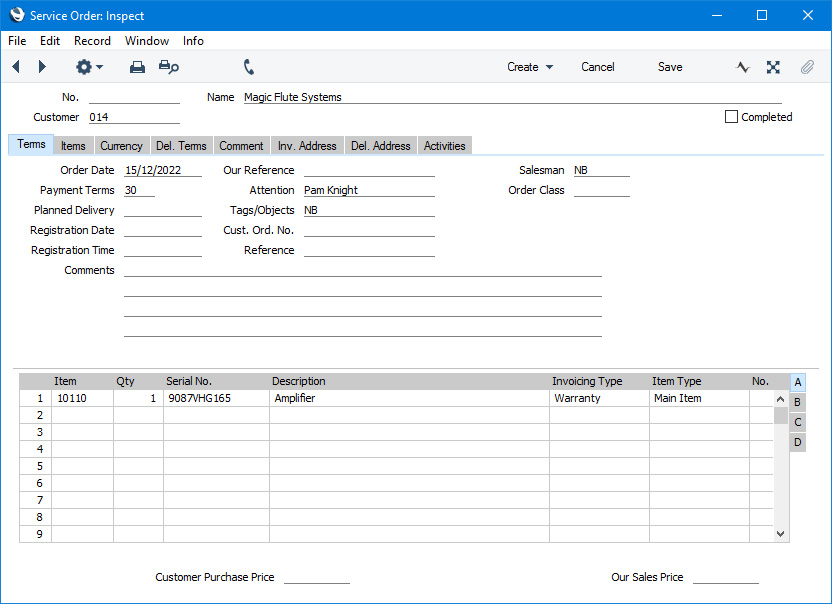
Since the amount of information stored about each Service Order will not fit on a single screen, the Service Order window has been divided into eight cards. At the top of each is the header. This contains the Service Order Number, the Customer Number and Name and the
Completed check box. There are eight named buttons ('tabs') in the header.

By clicking the tabs you can navigate between cards. The header is always visible, as a reminder of the Customer whose Service Order you are working with.
If you are using iOS or Android, there will only be two tabs, marked 'Items' and 'Details'. If you tap 'Details', you will see every card except 'Items' arranged vertically on screen. You can scroll down to see each one, or you can jump to any card by tapping on any tab and selecting the tab you want to go to.
After entering a Service Order, you can proceed as follows:
- Create a Service Stock Transaction to receive the Item that is to be repaired into your workshop or Service Location
- In addition or as an alternative to the Service Stock Transaction, if you are subscribing to the Internal Stock module you can create an Items In record to receive the Item that is to be repaired into your workshop or Service Location. The Items In record will add the Item being repaired to your internal stock so you will be able to use the Internal Stock List report in the Internal Stock module to list the Items you currently have in for repair
- Create a Work Order to bring the repair to the attention of technicians
- Create a Work Sheet to list the spare parts and other Items that will be needed to carry out the repair and that will eventually remove those Items from stock
- If necessary, create Purchase Orders for any spare parts or other Items that you do not have in stock
- Create the Invoice for the repair
- Create a second Service Stock Transaction to pass the repaired Item back to the Customer
- If you added the repaired Item to your internal stock using an Items In record, create an Items Out record to remove it from internal stock
- Mark the Service Order as Completed.
Please refer to the following pages for details about the fields on each card in the Service Order window:
---
The Service Order register in Standard ERP:
Go back to: