|
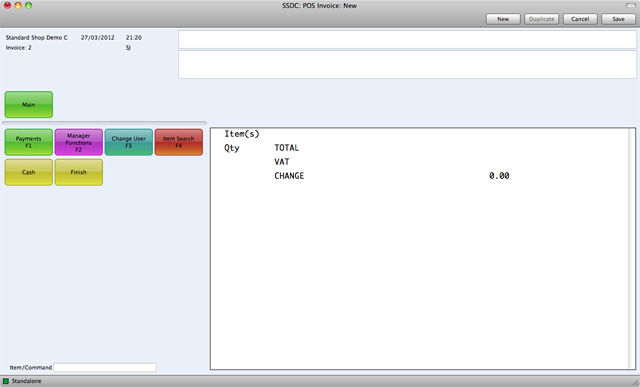
Search HansaManuals.com HansaManuals Home >> Standard POS >> POS Invoices Previous Next Entire Chapter in Printable Form Search This text refers to program version 6.3 Entering a POS Invoice (POS Invoice Workflow) To open the POS Invoice register, click the [POS Invoices] button in the Master Control panel or use the ⌘-1 keyboard shortcut. The 'POS Invoices: Browse' window is opened, showing POS Invoices already entered.As in all browse windows you can change the sort order by clicking on the column headings. To reverse any sort, simply click once again on the column heading. You can scroll the list using the scroll bars or the trackpad. Finally, you can search for a record by entering a keyword in the field at the top right-hand corner. Standard POS will search for the first record matching the keyword in the same column as the selected sorting order. You can also change the order of the columns by dragging the column headings, and remove columns altogether using the check boxes in the drawer. To enter a new POS Invoice, click the [New] button in the Button Bar or use the ⌘-N keyboard shortcut. Alternatively, select an Invoice similar to the one you want to enter and click [Duplicate] on the Button Bar (or ⌘-Y). The touch screen interface appears, as shown below:
Please click the following links for details about: In this chapter:
|