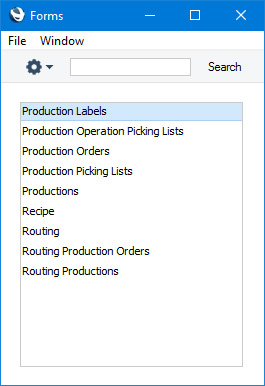
Language:


Routing

This page describes the Routing form in the Production module.

---

The Routing form allows you to print an individual Routing record.

Code
Paste Special    Routings setting, Production module
Enter the Code of the Routing record that you need to be printed.
You can use the following fields when you design the Form Template to be used by the Routing form:

Field in Form TemplatePrints (from Routing record)
Header Fields (these print once per Routing)
Date CreatedReg. Date
RoutingCode
Routing NameComment
Row Fields (these print once per row, so remember to specify a Line Height and to set the Format to "Matrix")
CommentDescription
Fixed Asset CodeMachine
Fixed Asset GroupMach. Group
Fixed Asset Group NameDescription from the Asset record for the Machine
InstructionsPrints the Text from the 'Instructions' card in the Standard Operation record. More details can be found towards the end of this page
Move TimeMove Time
OperationOperations
Queue Time Queue Time
Queue Time In Minutes Queue Time converted to minutes
Row NumberRow number
Run Time Run Time
Run Time In MinutesRun Time converted to minutes
SeparatorPrints a separator line between each row. More details can be found towards the end of this page
SequenceSequence
Setup Time Setup Time
Setup Time In MinutesSetup Time converted to minutes
Sub SequenceSub
Use ArgumentPrints the Field Argument in the field.

Please refer here for details about the standard fields that you can also include in the Form Template.

The "Separator" row field will print a separator line between each row, as shown in this example:

If you will use the "Separator" row field, it is recommended that you use a Line Height in all row fields (including "Separator") that is slightly larger than the font size. This will make room between the rows of text for the separator lines. In the example above, the font size (set in the Style) is 12 and the Line Height in the row fields is 15.

When placing the "Separator" row field on the page, use the Top and Left fields to specify the position of the top left-hand corner of the field. The Right and Bottom values will not be used: the separator lines will be drawn from the specified Left position to the right-hand side of the page, and the number of separator lines drawn will depend on the number of text rows, not on the size of the box representing the field.

It is recommended that the Top figure in the "Separator" row field should be the same as the Top figure in the other row fields less the Line Height. For example, if the Top figure in the other row fields is 120 and the Line Height is 15, the Top figure in the "Separator" row field should be 105. This will ensure that the first separator line (which will be drawn above the rows of text) will be in the correct place.

The "Instructions" row field will print the Text from the 'Instructions' card in the Standard Operation records that are connected to each row in the Routing. In this example, we have added an "Instructions" row field as an additional column. As it is a row field, we have specified the same Line Height as in the other row fields (in this case 15) and set the Format to "Matrix".

This is the output:

The Instructions are printed on their own lines below the information in the other columns. Bearing in mind that the Instructions in a Standard Operation are stored in a text field, it may not be appropriate to print them in a column as shown above. Instead, you can take advantage of their being printed on their own lines and place the "Instructions" row field on top of the other row fields (in this example we have moved the field to the left so that the Instructions will be slightly indented for clarity):

This is the output:

As already mentioned, the Line Height in the "Instructions" row field should be the same as that in the other row fields. Although you can use a different Style for the "Instructions" row field, the requirement to use the same Line Height imposes a limitation on the font size that you can use. The Row Styles feature will allow you to increase the spacing and possibly use a larger font for the Instructions if needed. 'Row Styles' is on the Operations menu in the Form Template window:

Enter a Style in the Description field and a Line Height. Entering a Style in the Description field activates the Row Style so you must enter a Style, even if it is the same as the one in the "Instructions" row field:

This is the output:

---

Go back to: